
Dear Devorah,
My bathroom is a mess—too many products, not enough space, and nothing ever stays organized. How do I even start?
—Ruckus in the Restroom
Dear Ruckus,
Bathrooms may be small, but they can hold a surprising amount of chaos. Between the vanishing toothpaste caps, the drawer stuffed with “emergency” skincare samples, and enough shampoo backstock to survive a global shortage, it’s no wonder this space spirals so quickly. And because bathrooms are high-use areas, disorganization shows up fast—usually when you’re running late and can’t find the good nail clippers.
The key? Stop managing the mess—and start fresh. With a few simple steps, even the most overstuffed bathroom can become a space that works for real life.
Step 1: Take Everything Out (Yes, Everything)
No shortcuts. If you want a real reset, you need a clean slate—which means clearing every drawer, bin, basket, and shelf. Yes, even the mysterious container under the sink that hasn’t seen daylight since before COVID. Lay it all out where you can see it.
Get ready to find a few things that make you laugh, cringe, or wonder how they ever ended up there – a lone earring with no match, a dried-up face mask packet, or a sample labeled in a language you don’t speak. It’s all part of the process.
And don’t stress if it looks like a disaster mid-way through. That “messy middle” is normal. You’re not making a mess—you’re clearing space so you can rebuild with intention.

Step 2: Declutter Like You Mean It
Now that everything’s out, this is your moment to be honest. Go item by item. If it’s expired, leaking, dried out, or hasn’t been touched in years—it can go. Focus on what you actually use, not what you wish you’d use.
You don’t need five half-used lotions or a face mask you didn’t like the first time. And those sample-size products you’ve been saving “just in case”? They’re usually adding clutter, not value
Letting go isn’t about waste—it’s about creating a bathroom that works for your real routine. What’s left after the purge is what you truly use—and that’s what deserves the space.
The goal isn’t perfection. It’s simplicity. Less stuff means less digging, fewer decisions, and a calmer start to your day.
Step 3: Room for Backups, Not Bulk
It’s totally fine to keep a few extras in your bathroom —having a second shampoo or spare soap can be helpful. But too much backstock starts competing with your everyday essentials.
Here’s the fix: keep one backup of each item in the bathroom, and move the rest elsewhere. A labeled bin in the hallway closet, laundry room, or garage works great. Out of the way, but easy to grab when you need it.
If you shop in bulk, treat those extras like inventory—not daily tools. Store them in well-organized, clearly labeled bins, and keep in a consistent spot so you always know what you have—no digging required.
This simple shift creates breathing room. Suddenly, drawers open easily, counters feel calmer, and your bathroom starts working for you—not the other way around.
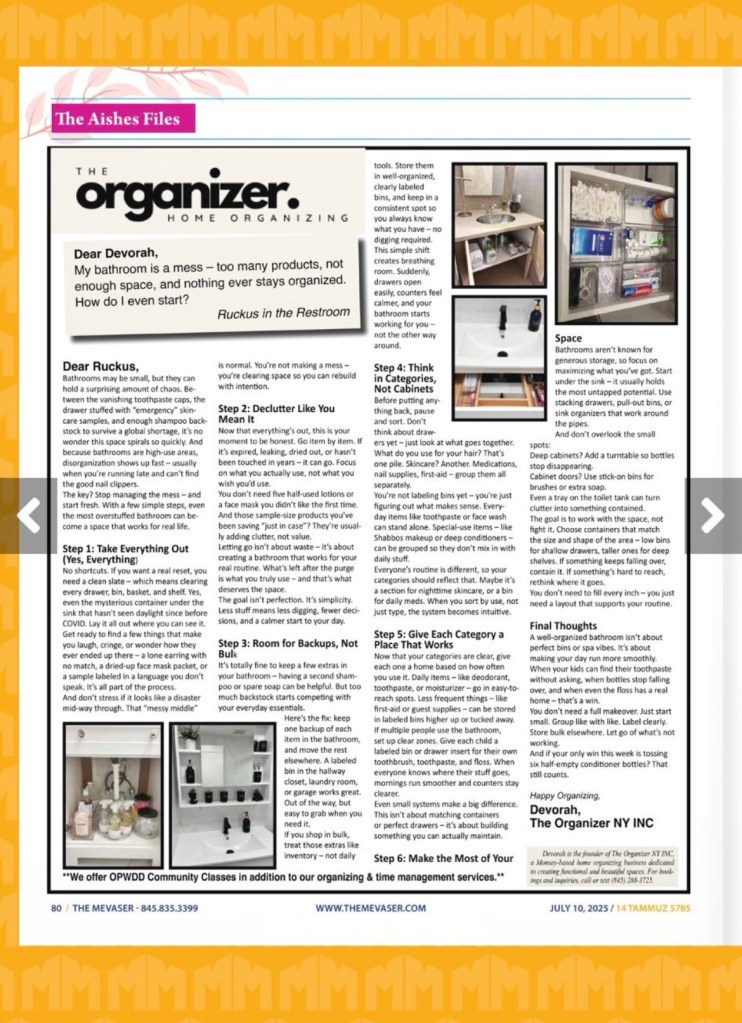
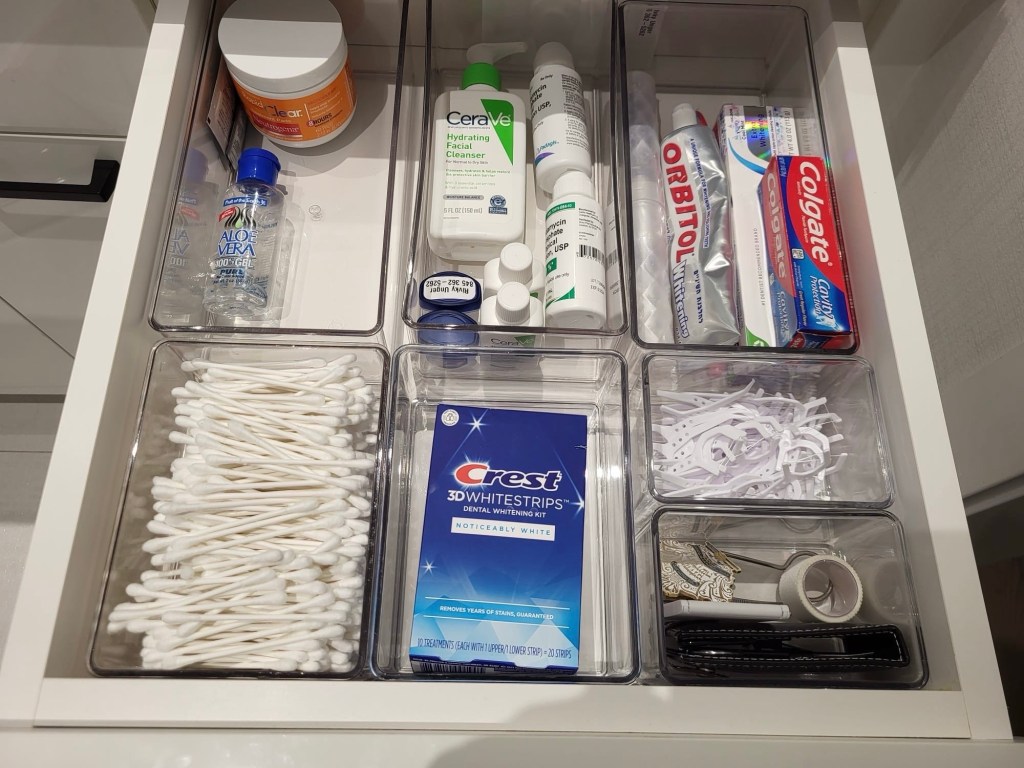
Step 4: Think in Categories, Not Cabinets
Before putting anything back, pause and sort. Don’t think about drawers yet—just look at what goes together. What do you use for your hair? That’s one pile. Skincare? Another. Medications, nail supplies, first-aid—group them all separately.
You’re not labeling bins yet—you’re just figuring out what makes sense. Everyday items like toothpaste or face wash can stand alone. Special-use items—like Shabbos makeup or deep conditioners—can be grouped so they don’t mix in with daily stuff.
Everyone’s routine is different, so your categories should reflect that. Maybe it’s a section for nighttime skincare, or a bin for daily meds. When you sort by use, not just type, the system becomes intuitive.

Step 5: Give Each Category a Place That Works
Now that your categories are clear, give each one a home based on how often you use it. Daily items—like deodorant, toothpaste, or moisturizer—go in easy-to-reach spots. Less frequent things—like first-aid or guest supplies—can be stored in labeled bins higher up or tucked away.
If multiple people use the bathroom, set up clear zones. Give each child a labeled bin or drawer insert for their own toothbrush, toothpaste, and floss. When everyone knows where their stuff goes, mornings run smoother and counters stay clearer.
Even small systems make a big difference. This isn’t about matching containers or perfect drawers—it’s about building something you can actually maintain.
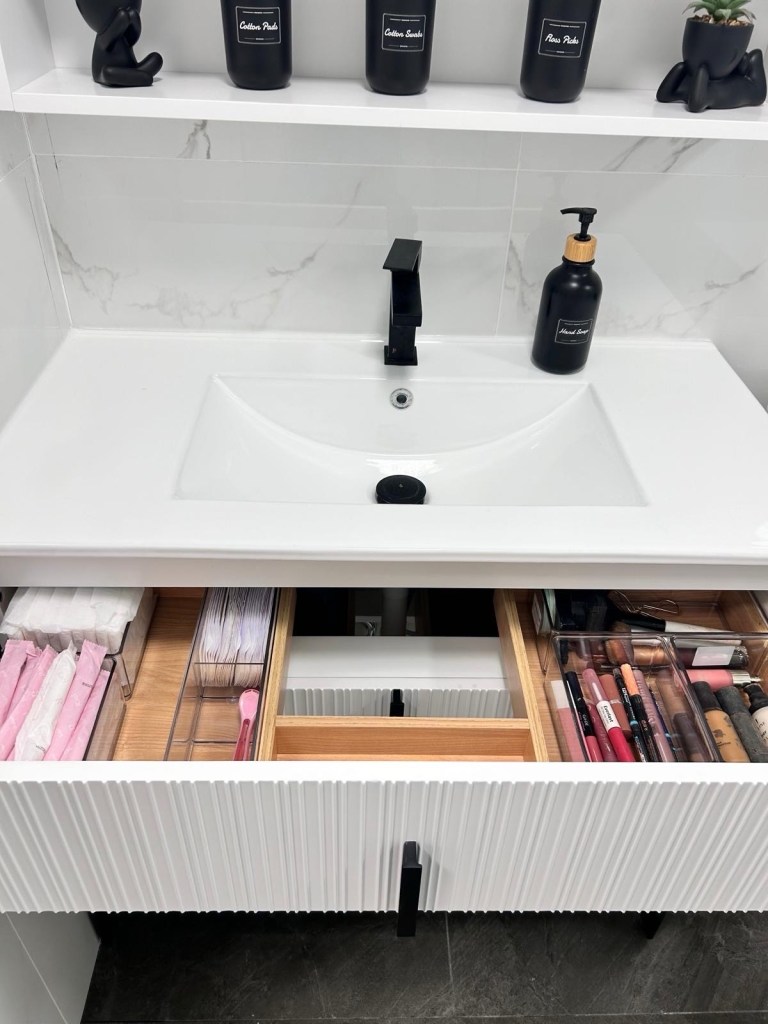
Step 6: Make the Most of Your Space
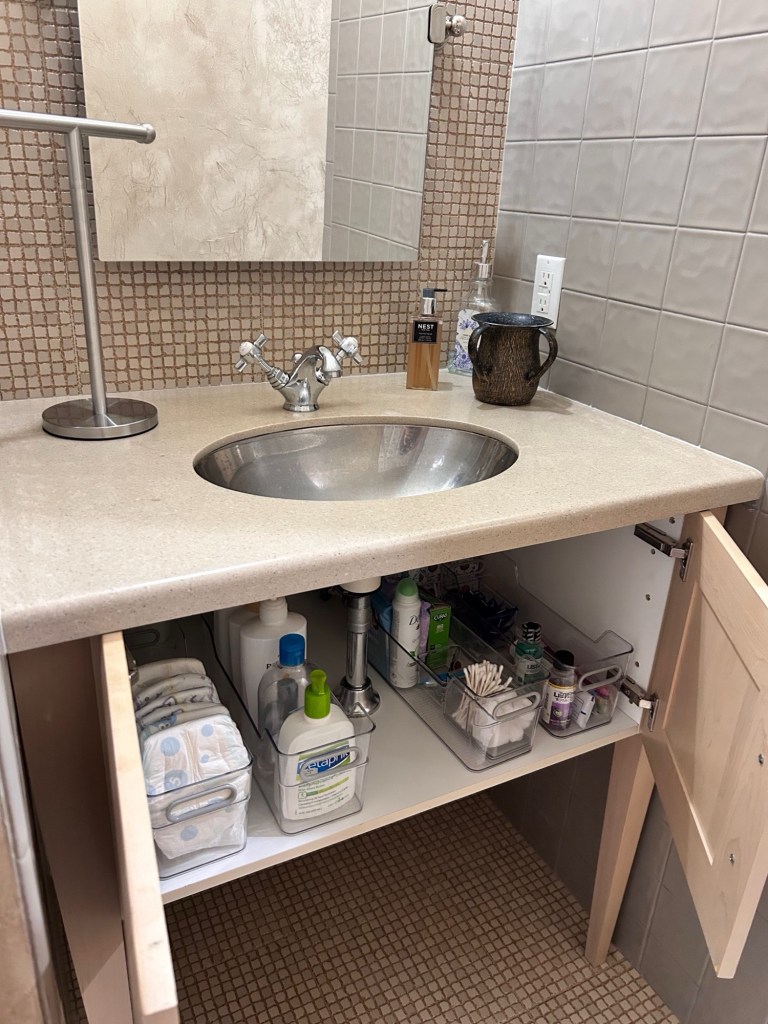
Bathrooms aren’t known for generous storage, so focus on maximizing what you’ve got. Start under the sink—it usually holds the most untapped potential. Use stacking drawers, pull-out bins, or sink organizers that work around the pipes.
And don’t overlook the small spots:
● Deep cabinets? Add a turntable so bottles stop disappearing.
● Cabinet doors? Use stick-on bins for brushes or extra soap.
● Even a tray on the toilet tank can turn clutter into something contained.
The goal is to work with the space, not fight it. Choose containers that match the size and shape of the area—low bins for shallow drawers, taller ones for deep shelves. If something keeps falling over, contain it. If something’s hard to reach, rethink where it goes.
You don’t need to fill every inch—you just need a layout that supports your routine.
Final Thoughts
A well-organized bathroom isn’t about perfect bins or spa vibes. It’s about making your day run more smoothly. When your kids can find their toothpaste without asking, when bottles stop falling over, and when even the floss has a real home—that’s a win.
You don’t need a full makeover. Just start small. Group like with like. Label clearly. Store bulk elsewhere. Let go of what’s not working.
And if your only win this week is tossing six half-empty conditioner bottles? That still counts.
Happy organizing,
Devorah

Leave a comment