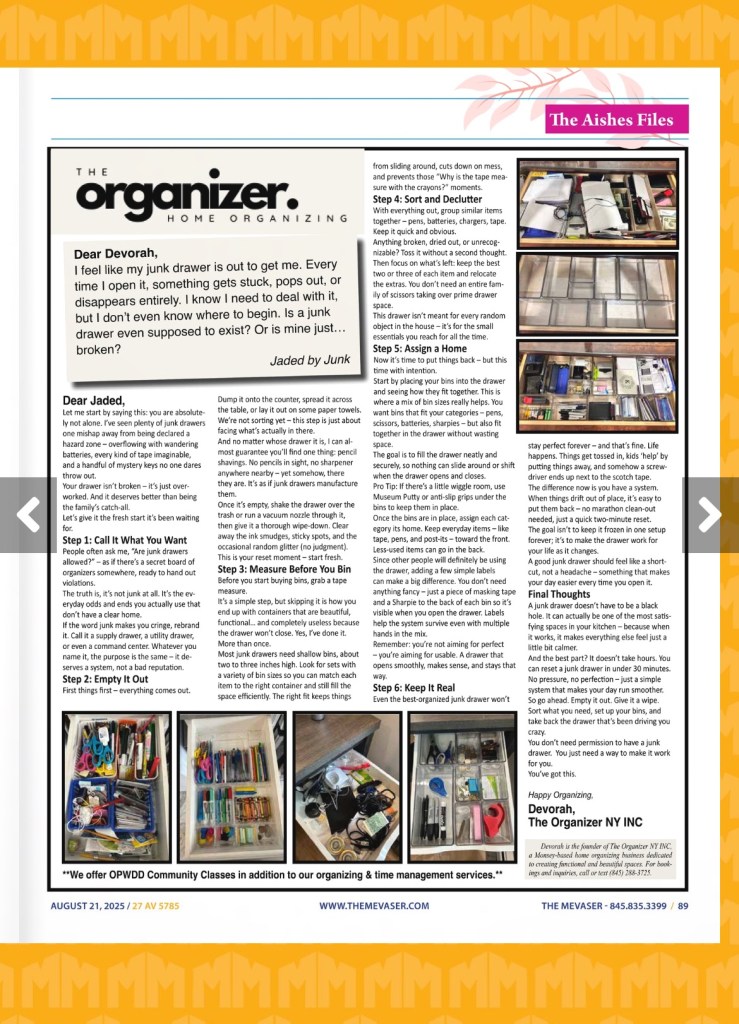
Dear Devorah,
I feel like my junk drawer is out to get me. Every time I open it, something gets stuck, pops out, or disappears entirely. I know I need to deal with it, but I don’t even know where to begin. Is a junk drawer even supposed to exist? Or is mine just… broken?
-Jaded by Junk
Dear Jaded,
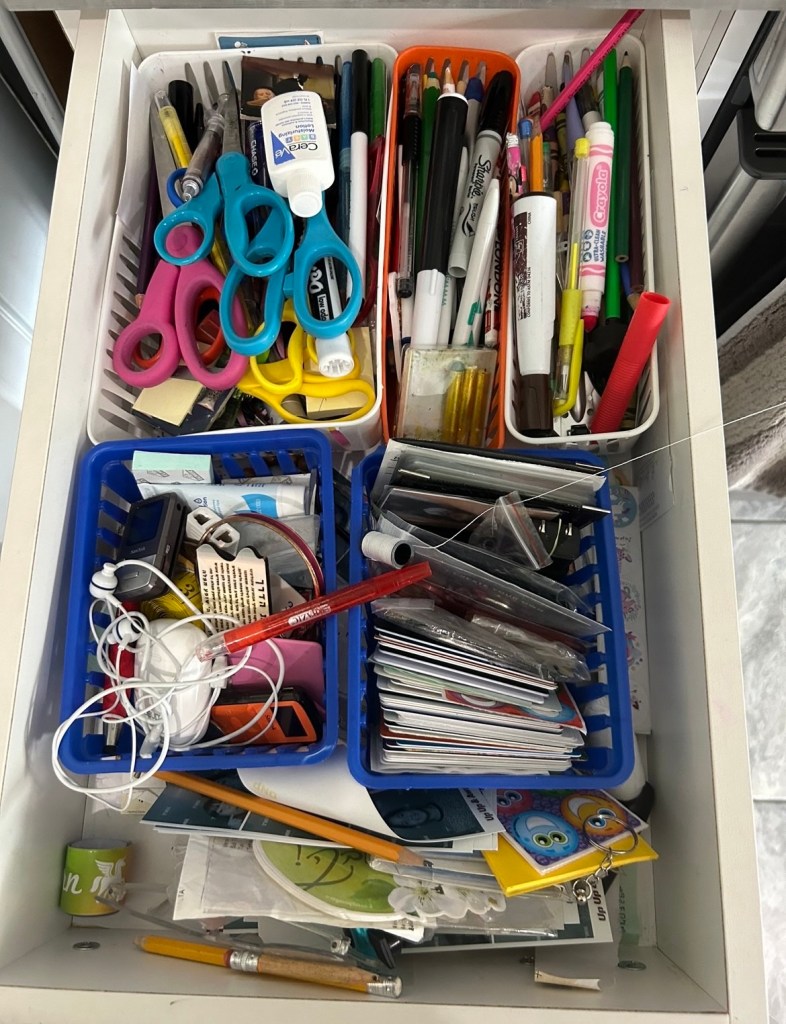
Let me start by saying this: you are absolutely not alone. I’ve seen plenty of junk drawers one mishap away from being declared a hazard zone – overflowing with wandering batteries, every kind of tape imaginable, and a handful of mystery keys no one dares throw out.
Your drawer isn’t broken – it’s just overworked. And it deserves better than being the family’s catch-all.
Let’s give it the fresh start it’s been waiting for.

Step 1: Call It What You Want
People often ask me, “Are junk drawers allowed?”- as if there’s a secret board of organizers somewhere, ready to hand out violations.
The truth is, it’s not junk at all. It’s the everyday odds and ends you actually use that don’t have a clear home.
If the word junk makes you cringe, rebrand it. Call it a supply drawer, a utility drawer, or even a command center. Whatever you name it, the purpose is the same – it deserves a system, not a bad reputation.
Step 2: Empty It Out
First things first – everything comes out. Dump it onto the counter, spread it across the table, or lay it out on some paper towels. We’re not sorting yet – this step is just about facing what’s actually in there.
And no matter whose drawer it is, I can almost guarantee you’ll find one thing: pencil shavings. No pencils in sight, no sharpener anywhere nearby – yet somehow, there they are. It’s as if junk drawers manufacture them.
Once it’s empty, shake the drawer over the trash or run a vacuum nozzle through it, then give it a thorough wipe-down. Clear away the ink smudges, sticky spots, and the occasional random glitter (no judgment). This is your reset moment – start fresh.
Step 3: Measure Before You Bin
Before you start buying bins, grab a tape measure.
It’s a simple step, but skipping it is how you end up with containers that are beautiful, functional… and completely useless because the drawer won’t close. Yes, I’ve done it. More than once.
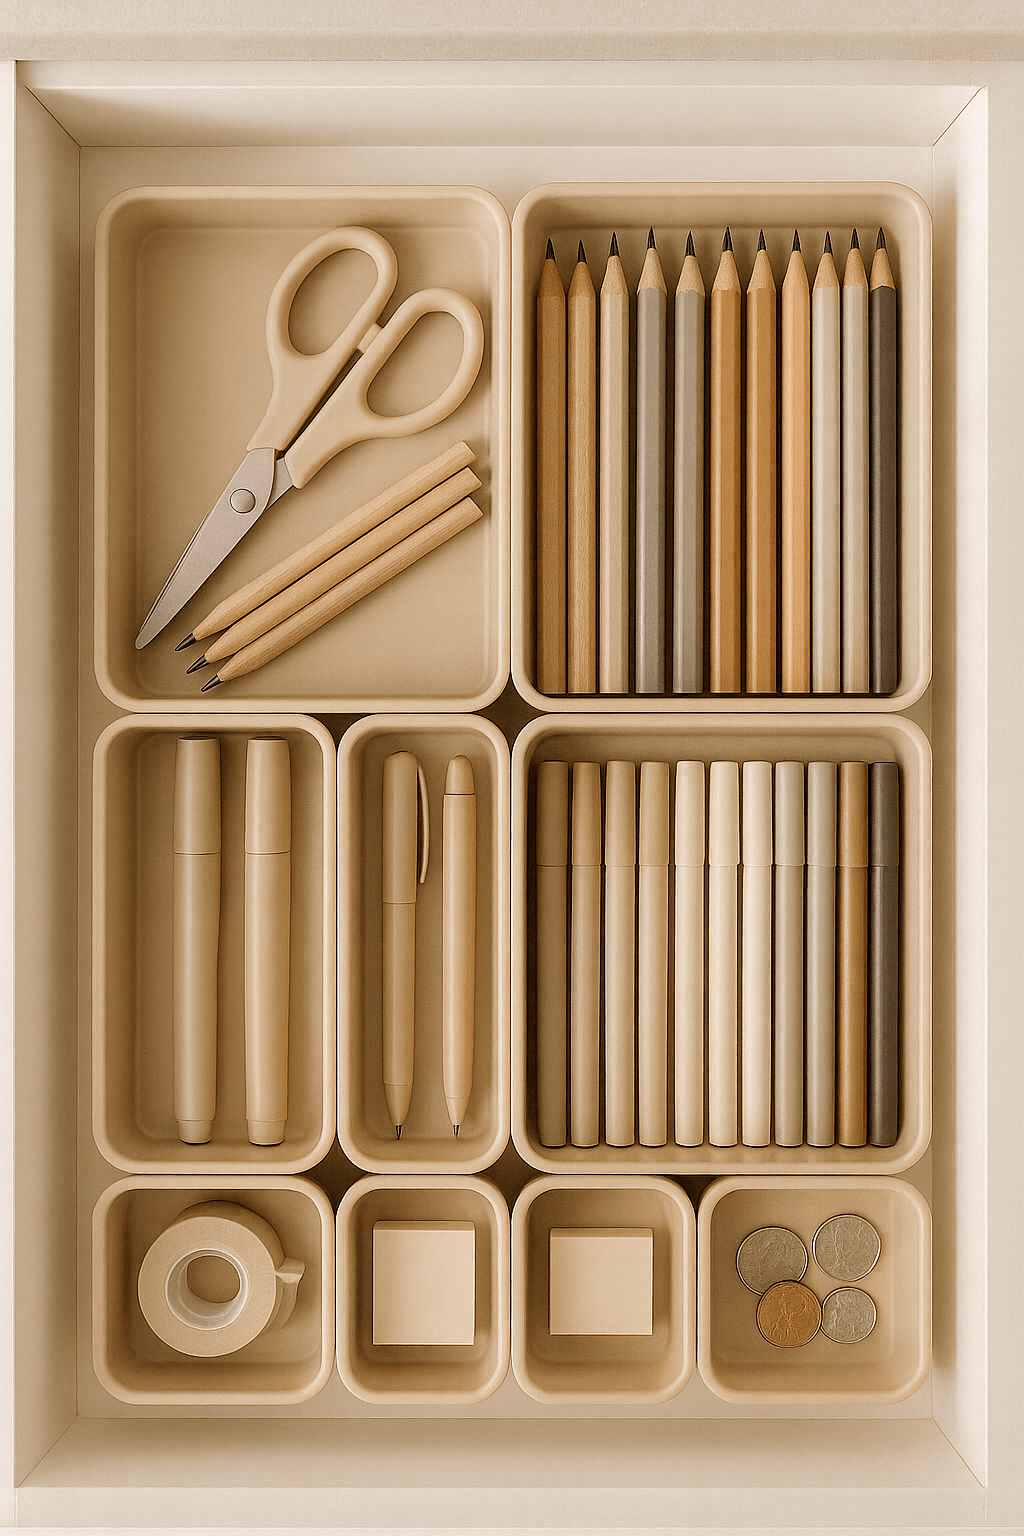
Most junk drawers need shallow bins, about two to three inches high. Look for sets with a variety of bin sizes so you can match each item to the right container and still fill the space efficiently. The right fit keeps things from sliding around, cuts down on mess, and prevents those “Why is the tape measure in with the crayons?” moments.
Step 4: Sort and Declutter
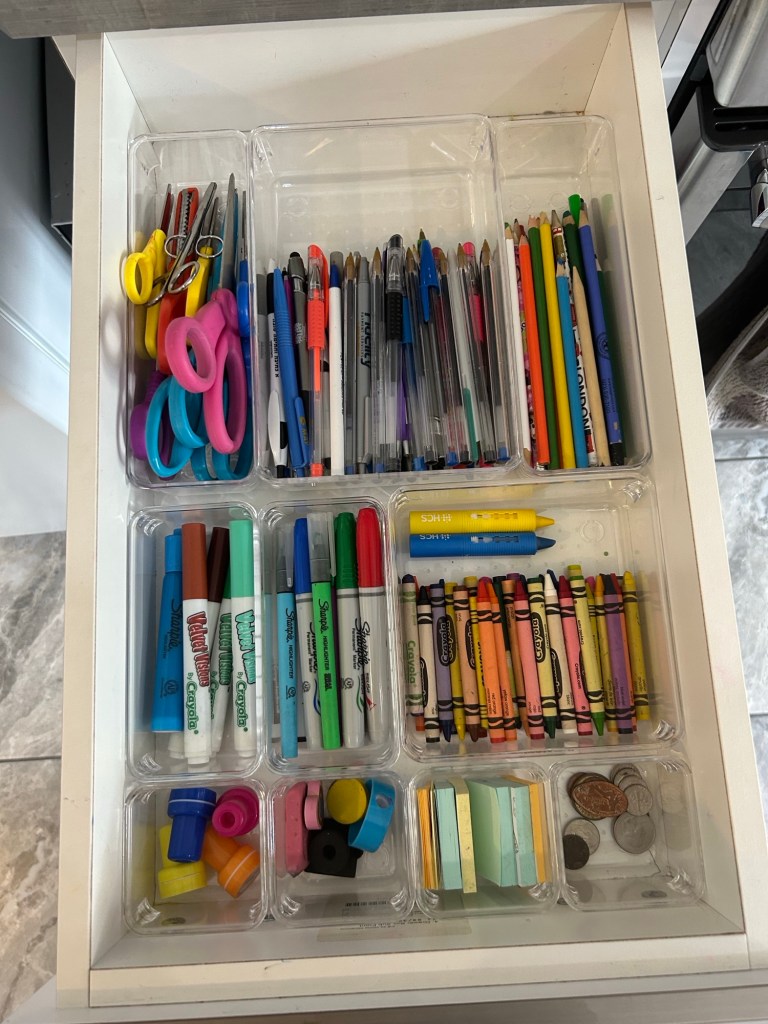
With everything out, group similar items together – pens, batteries, chargers, tape. Keep it quick and obvious.
Anything broken, dried out, or unrecognizable? Toss it without a second thought. Then focus on what’s left: keep the best two or three of each item and relocate the extras. You don’t need an entire family of scissors taking over prime drawer space.
This drawer isn’t meant for every random object in the house – it’s for the small essentials you reach for all the time.


Step 5: Assign a Home
Now it’s time to put things back – but this time with intention.
Start by placing your bins into the drawer and seeing how they fit together. This is where a mix of bin sizes really helps. You want bins that fit your categories – pens, scissors, batteries, sharpies – but also fit together in the drawer without wasting space.
The goal is to fill the drawer neatly and securely, so nothing can slide around or shift when the drawer opens and closes. Pro Tip: If there’s a little wiggle room, use Museum Putty or anti-slip grips under the bins to keep them in place.
Once the bins are in place, assign each category its home. Keep everyday items – like tape, pens, and post-its – toward the front. Less-used items can go in the back.
Since other people will definitely be using the drawer, adding a few simple labels can make a big difference. You don’t need anything fancy – just a piece of masking tape and a Sharpie to the back of each bin so it’s visible when you open the drawer. Labels help the system survive even with multiple hands in the mix.
Remember: you’re not aiming for perfect-you’re aiming for usable. A drawer that opens smoothly, makes sense, and stays that way.
Step 6: Keep It Real
Even the best-organized junk drawer won’t stay perfect forever-and that’s fine. Life happens. Things get tossed in, kids ‘help’ by putting things away, and somehow a screwdriver ends up next to the scotch tape.
The difference now is you have a system. When things drift out of place, it’s easy to put them back – no marathon clean-out needed, just a quick two-minute reset.
The goal isn’t to keep it frozen in one setup forever; it’s to make the drawer work for your life as it changes.
A good junk drawer should feel like a shortcut, not a headache – something that makes your day easier every time you open it.


Final Thoughts
A junk drawer doesn’t have to be a black hole. It can actually be one of the most satisfying spaces in your kitchen – because when it works, it makes everything else feel just a little bit calmer.
And the best part? It doesn’t take hours. You can reset a junk drawer in under 30 minutes. No pressure, no perfection – just a simple system that makes your day run smoother.
So go ahead. Empty it out. Give it a wipe. Sort what you need, set up your bins, and take back the drawer that’s been driving you crazy.
You don’t need permission to have a junk drawer. You just need a way to make it work for you.
You’ve got this.
Happy Organizing,
Devorah

Leave a comment